
Setting up an Outgoing Email Address
By default, when you send replies from a Mailbox, your customers will receive an email from notifications@donedone.com. This is the default Outgoing Email we use for all Mailboxes.
However, we recommend you change this to an email address you own. Typically, your Outgoing Email should be the same as your Auto-Forwarding Email. So, if you're forwarding emails from support@mycompany.com, naturally you'd want your replies to be from support@mycompany.com.
Note: If you don't change this address, you cannot start new Conversations from your Mailbox. You can only reply to Conversations.
During the setup process, once you complete the Auto-Forwarding setup, the last step will guide you through making the forwarding address the Outgoing Email address as well.
If you want to have a different Outgoing Email, you can do so from the Mailbox home screen:
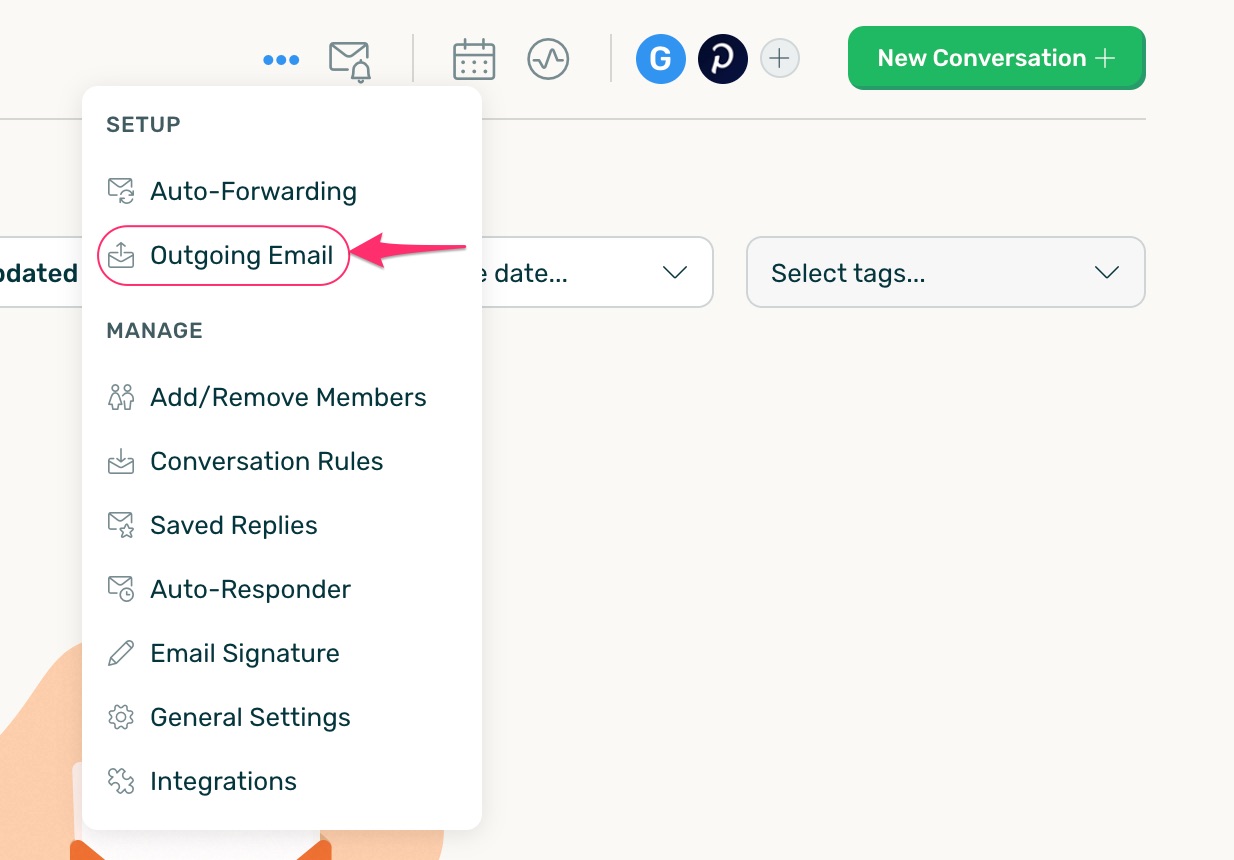
From there, click on the "Edit" button and update your Outgoing Email name and address:

After this is done, you need to take one extra verification step. If the Outgoing Email is also listed as a forwarding address, DoneDone will automatically verify your address.
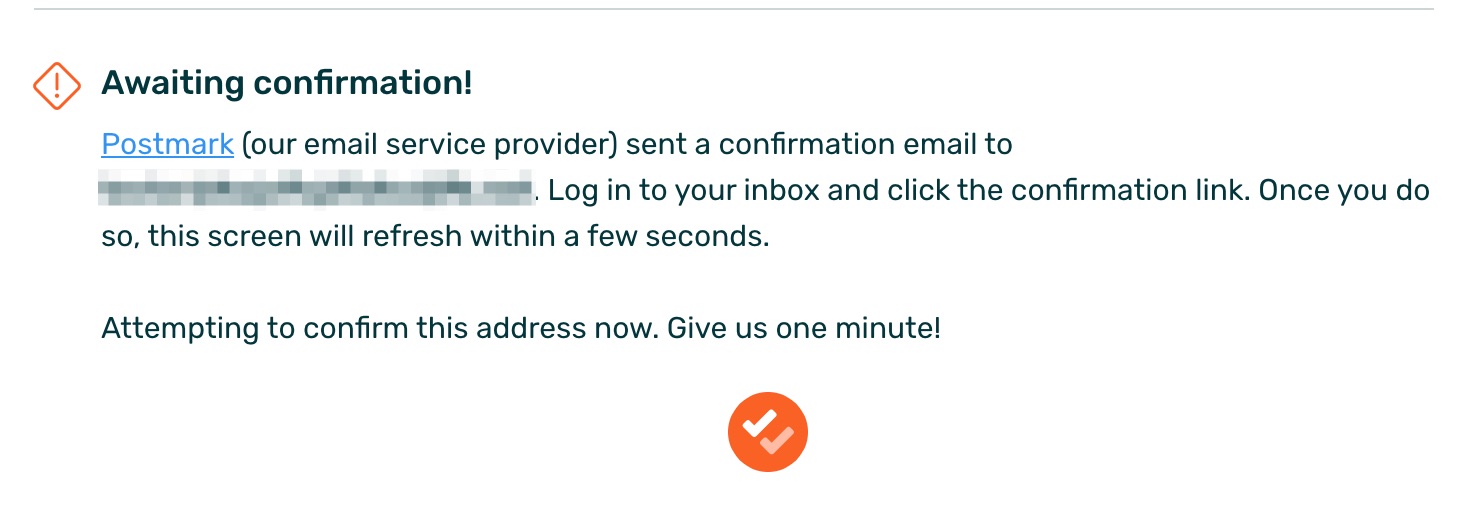
If the Outgoing Email is not listed as a forwarding address, you will receive an email with a verification link. Log in to the email account and click the link. Once you do so, DoneDone will verify that the link was clicked. In the meantime, you will see a waiting screen:
Once verified, your future replies (and new Conversations) will be sent using the Outgoing Email address you provided.


.png)