Note: Parts of this feature are only accessible to Account Admins and Owners only.
It’s always a good idea to have a specific format or template for logging bugs and issues. This way, bug loggers don’t forget to include essential information for bug fixers and avoid unnecessary back and forth.
In the spirit of increasing efficiency, we created Description Templates so that you can create a template for logging new bugs and issues.
Create your description template #
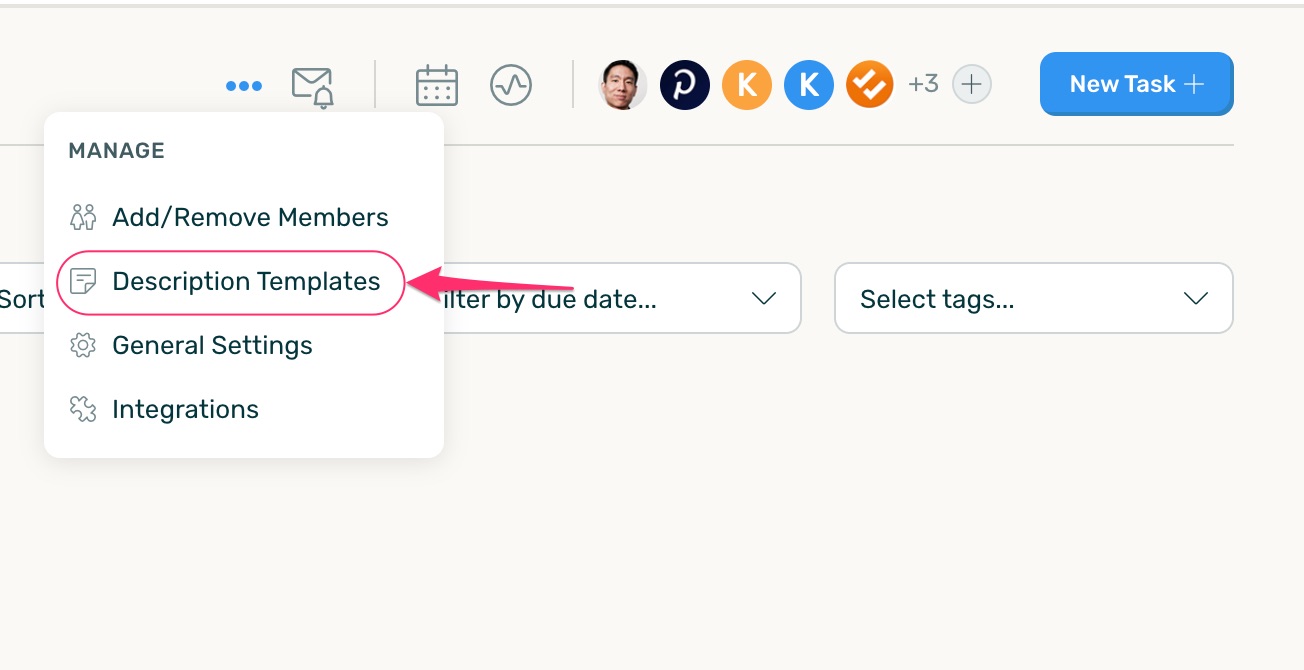
To create a new Description Template, go to the Description Templates settings section within your Project.
Note that description templates will only be saved to the Project you create them in. To create a saved reply for a different Project, you’ll need to click into that Mailbox and repeat the steps listed below.
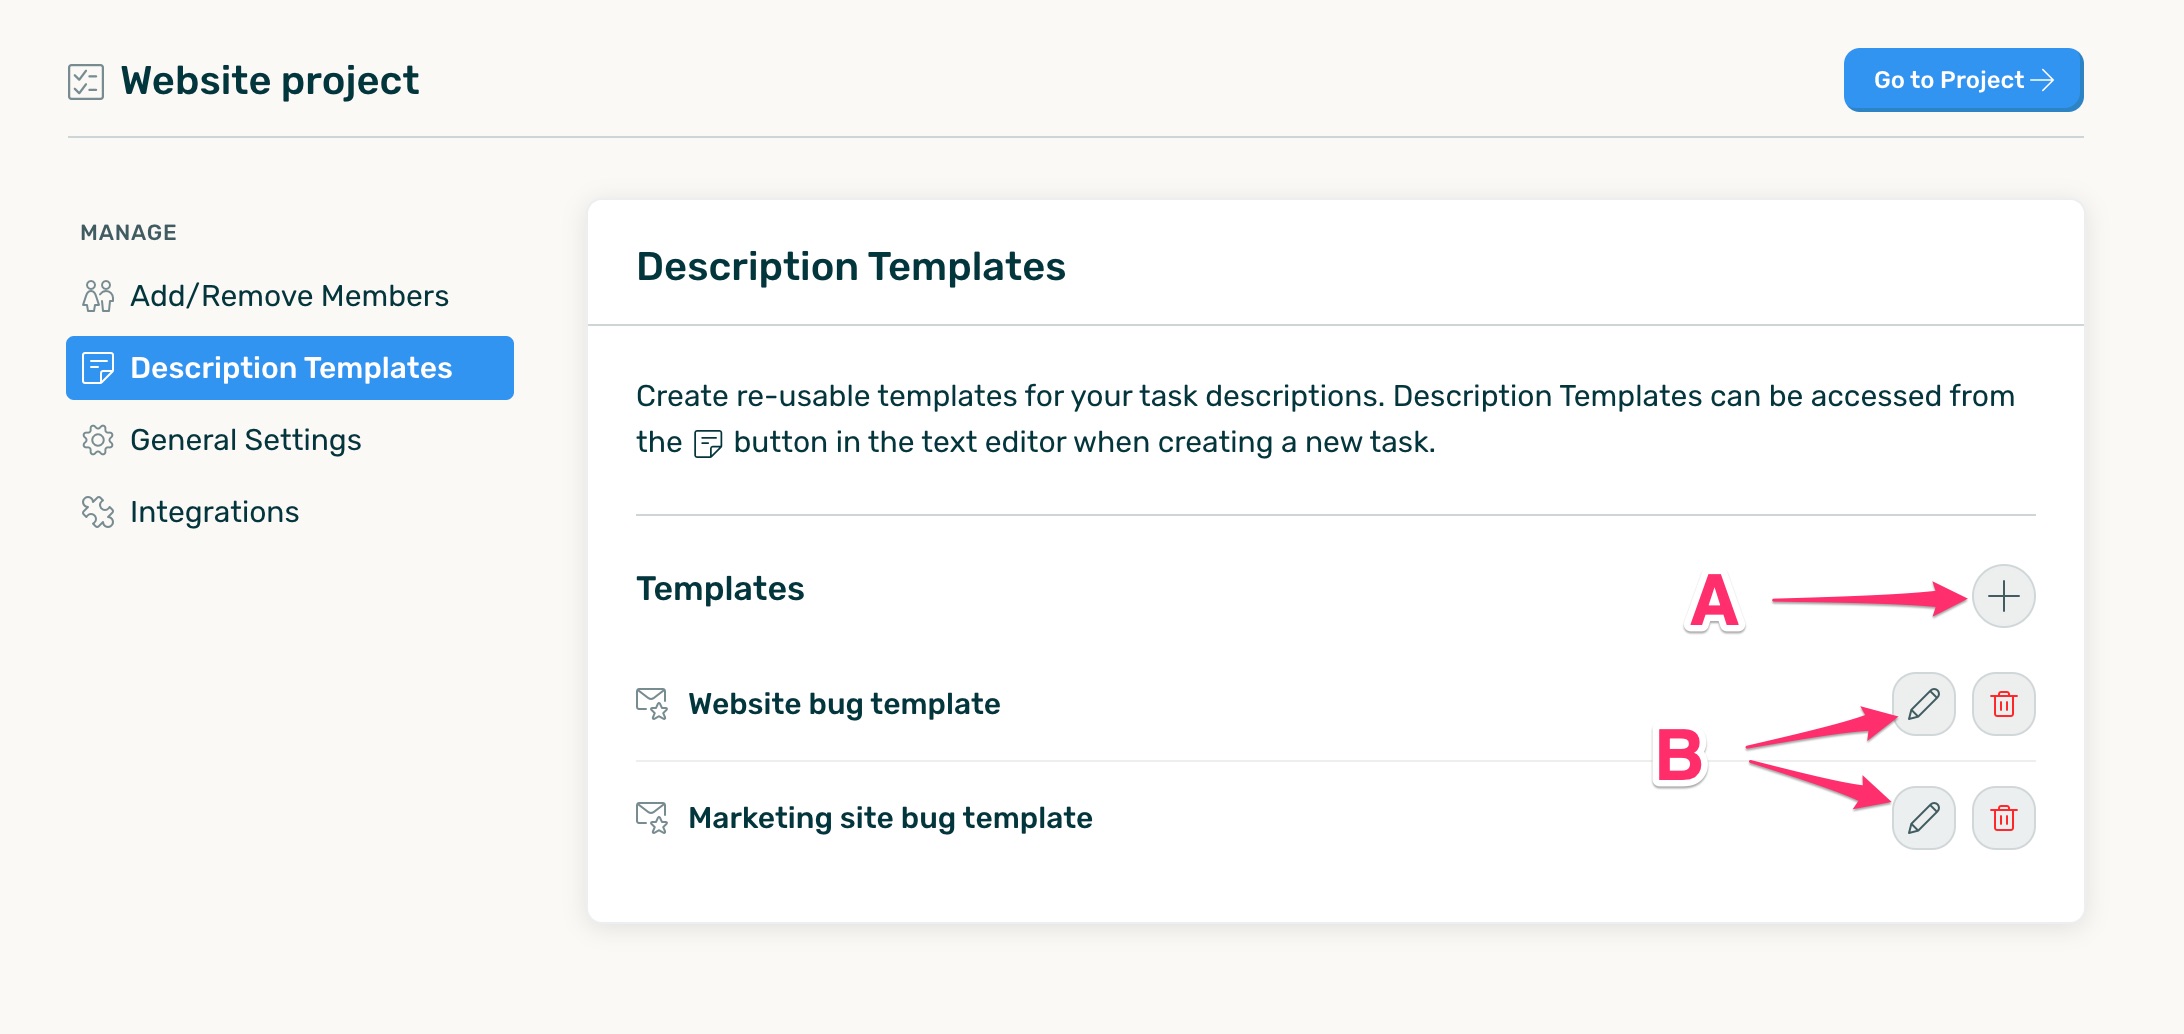
From here, you’ll have the ability to create a new template or edit an existing one.
- A: To create a new template, click on +.
- B: To edit a saved template, click on the edit icon next to the reply you’d like to edit and make your changes from there.
- You can also delete a template from here by selecting the red trash icon next to the reply you’d like to delete.
When a User creates a new template like a bug tracking template, it can be titled the template for easy identification. Then add the text for your template.
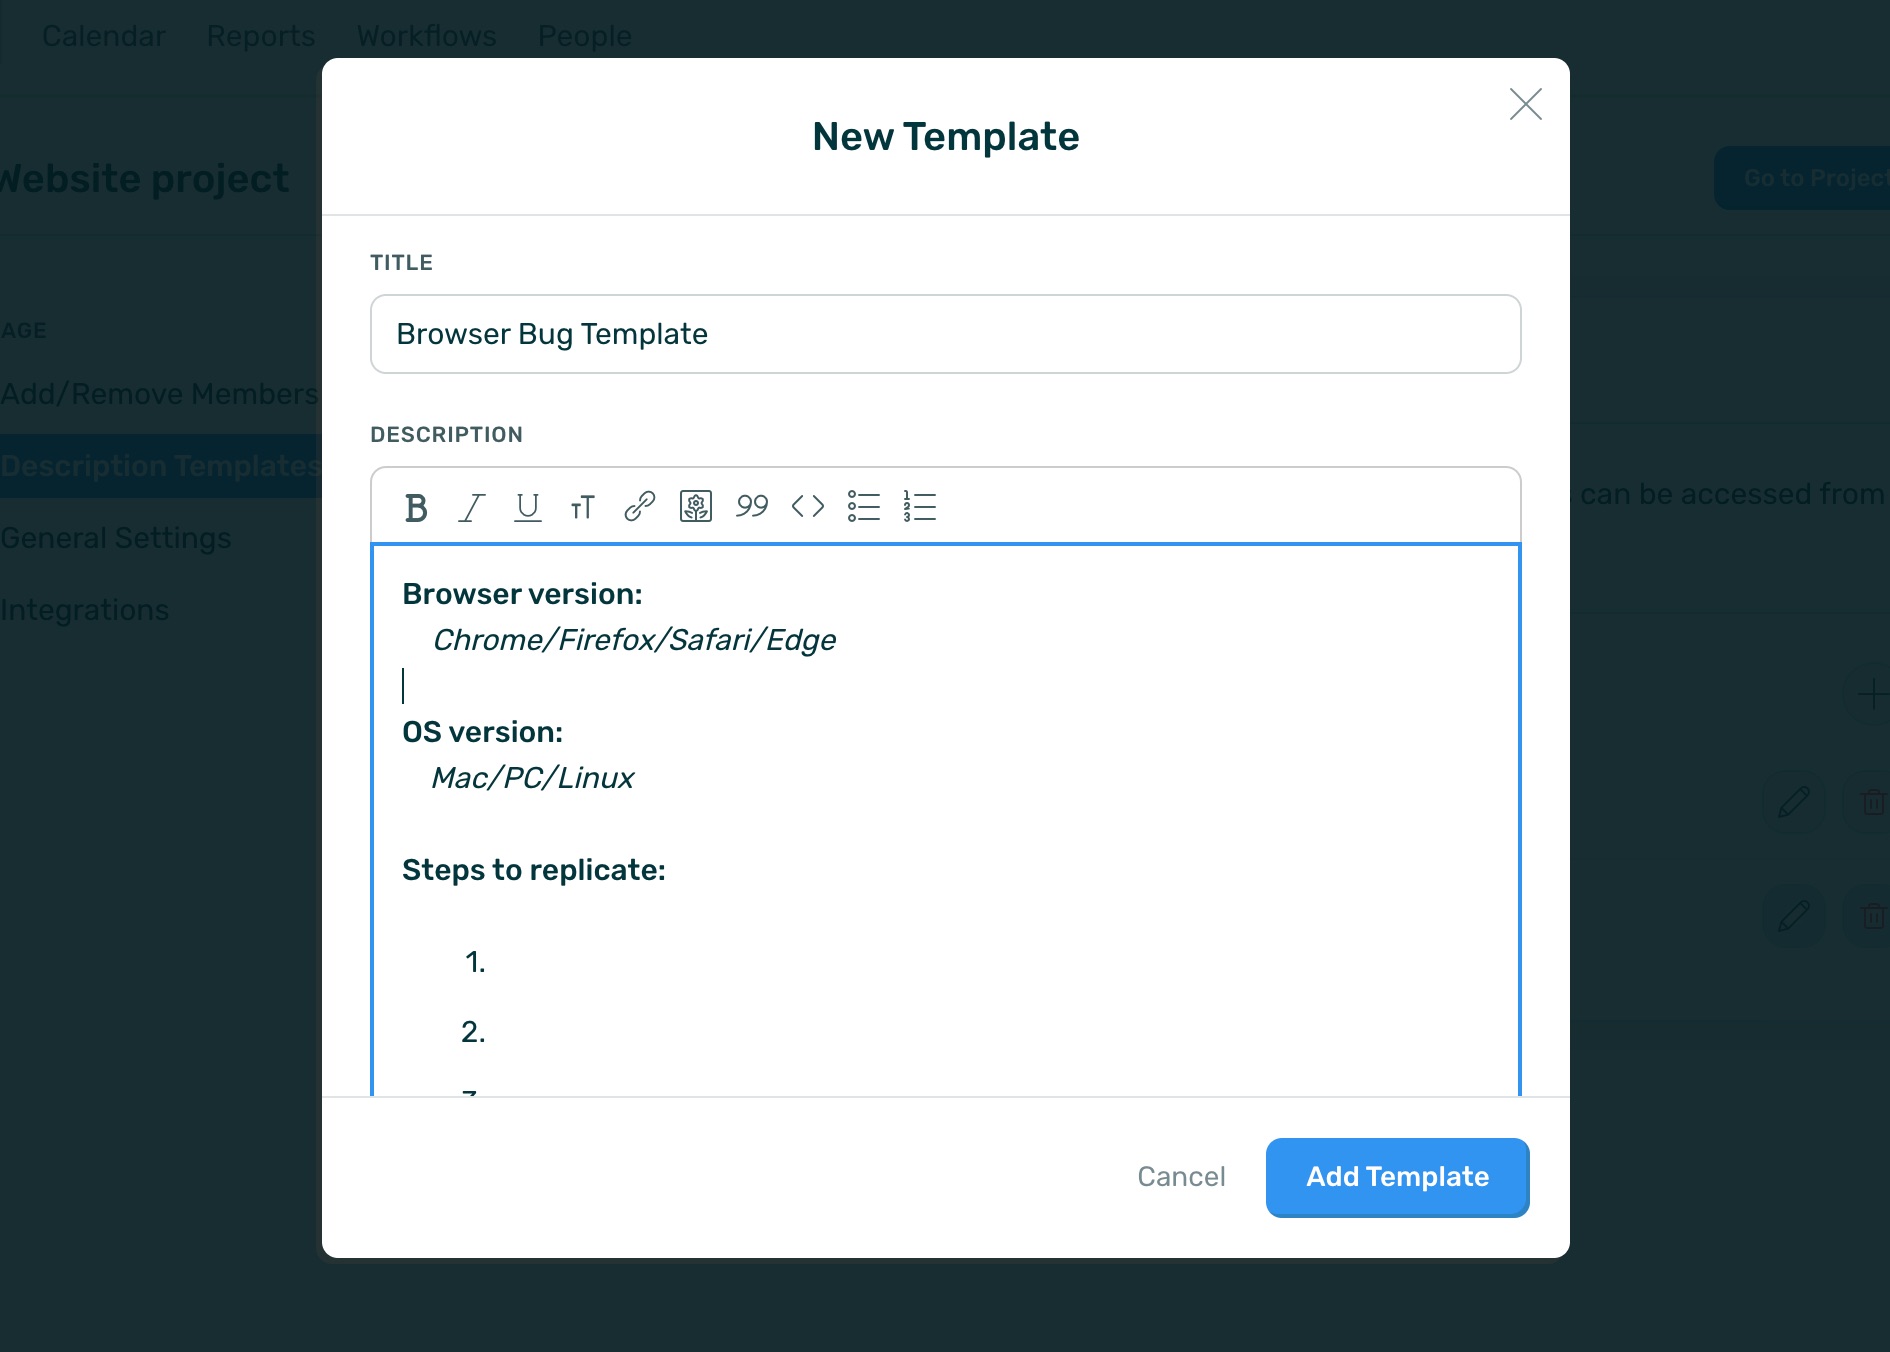
Once you finish crafting your description, make sure to hit Add Template, then Save Changes, and you’re ready to go!
Using your description templates #
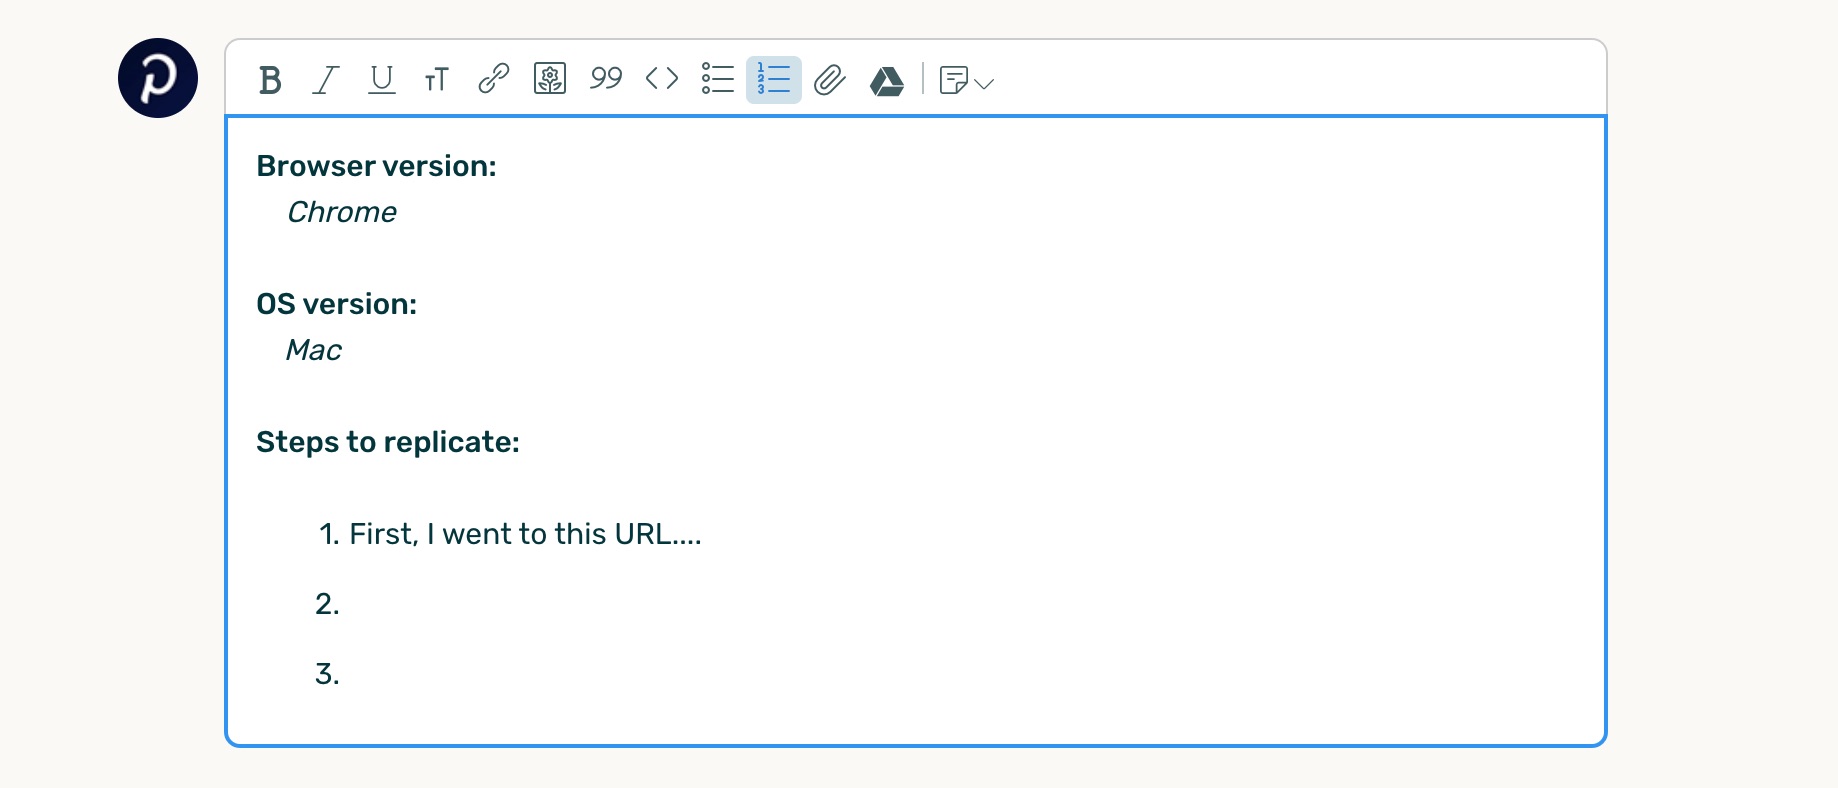
Once a User creates a description template, it can be used immediately on your next task. When you’re creating a new Task for the Project, simply click the Description Template icon in the rich text editor and choose the template you’d like to use.
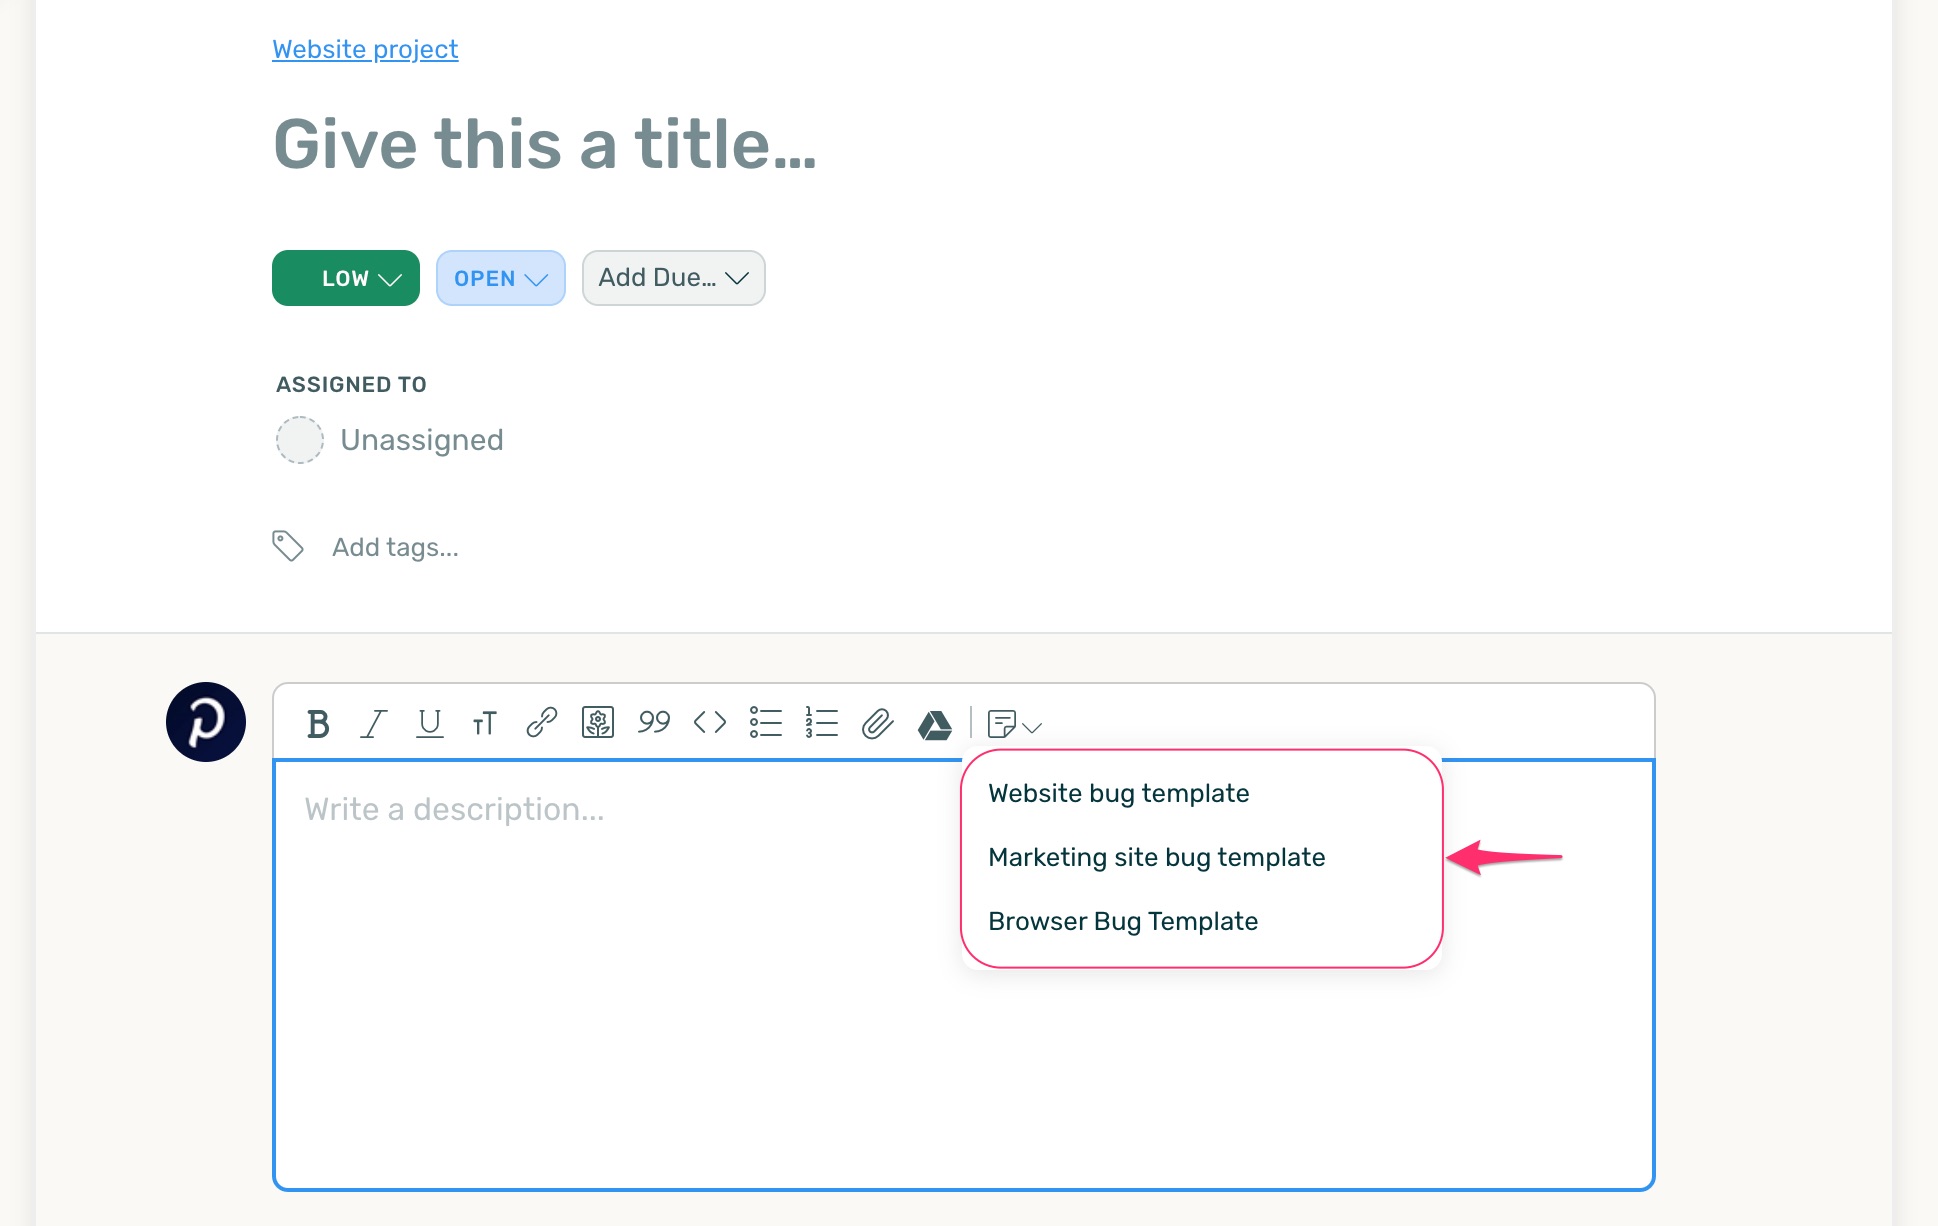
The editor will update with the template, and you can begin filling out the details of the description.